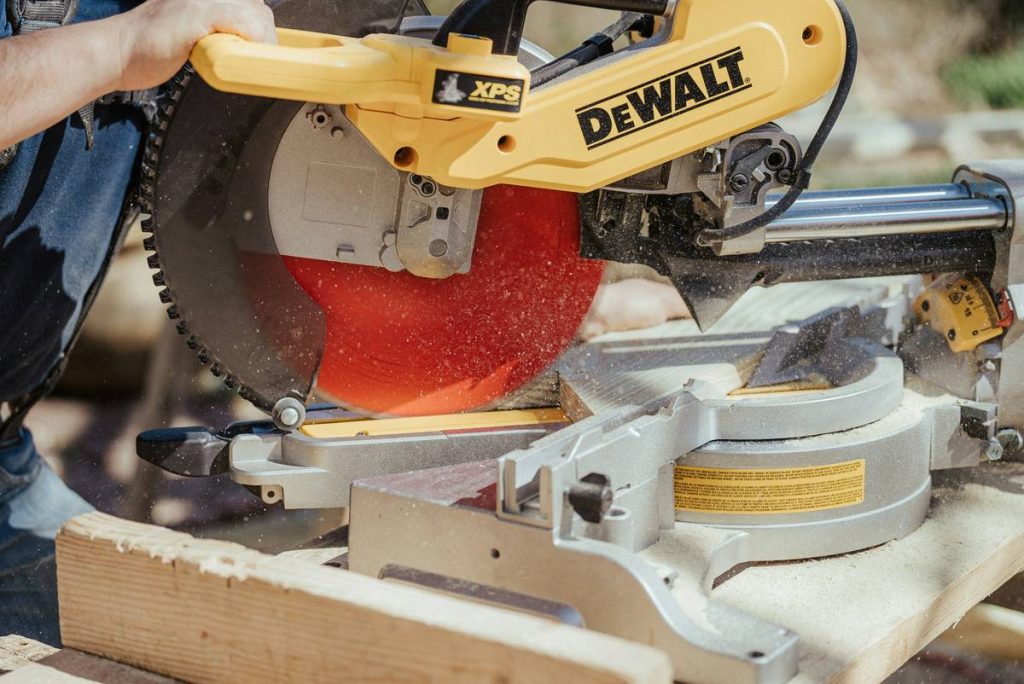
Ever ruined a perfectly good sheet of plywood because your circular saw veered off course by just half an inch? You’re not alone. I once cut a $200 oak countertop for a client—only to realize halfway through that my makeshift edge guide had slipped. The result? A jagged, unusable mess and a very disappointed homeowner. That painful lesson taught me one thing: precision starts with the right circular saw straight cutting guide. In this post, we’ll walk you through everything you need to know to make dead-straight, repeatable cuts—safely and efficiently—whether you’re building shelves, framing walls, or tackling weekend DIY projects.
Table of Contents
- Why Straight Cuts Matter (And Why They’re So Hard)
- Your Step-by-Step Circular Saw Straight Cutting Guide
- 6 Expert Tips for Flawless Results Every Time
- Real Projects, Real Results
- Frequently Asked Questions
Key Takeaways
- A dedicated straight-edge guide drastically improves accuracy and safety.
- Clamping your guide securely is non-negotiable—even slight movement ruins cuts.
- Measure from the blade’s actual cutting edge, not the shoe, to avoid misalignment.
- Diy guides work, but commercial options like the Kreg Rip-Cut offer superior repeatability.
- Your team at Exeter Develop has tested dozens of setups—here’s what actually works.
Why Straight Cuts Matter (And Why They’re So Hard)
In home improvement, especially in DIY woodworking and framing, a crooked cut isn’t just ugly—it wastes material, compromises structural integrity, and can delay entire projects. According to the Occupational Safety and Health Administration (OSHA), improper tool handling contributes to thousands of workshop injuries annually, many involving loss of control during cutting.
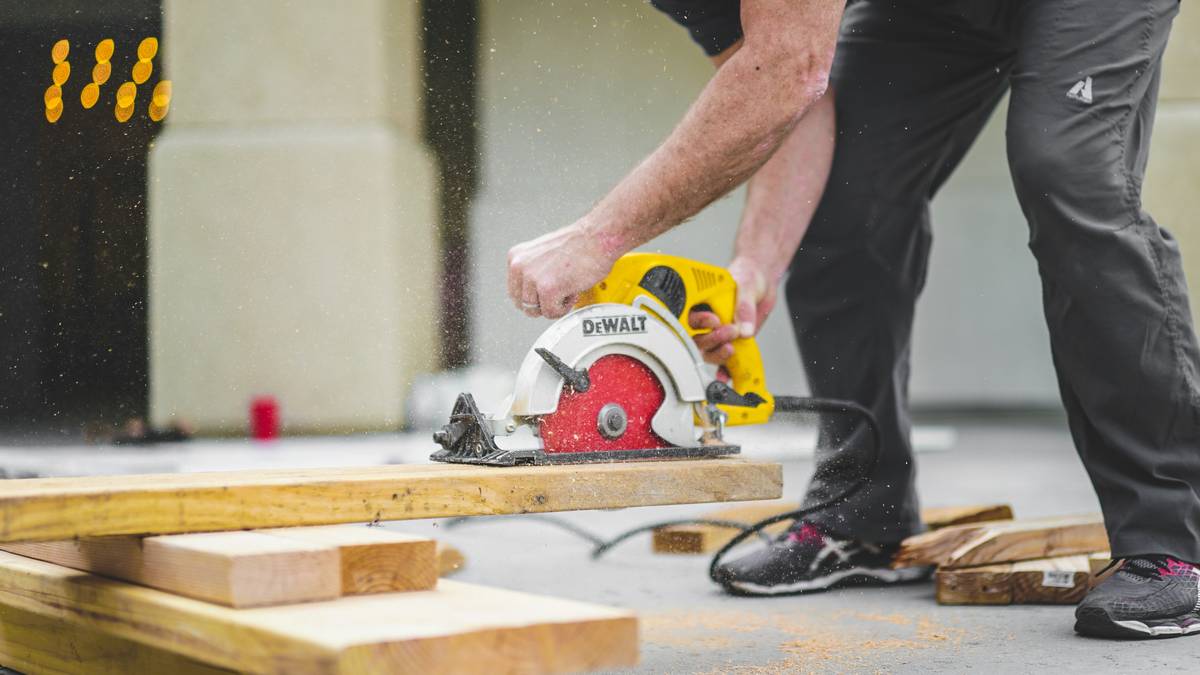
The core issue? Circular saws are designed for portability, not precision. Without a guide, even experienced users struggle with blade drift caused by uneven pressure, warped lumber, or motor torque. That’s where a reliable circular saw straight cutting guide becomes essential—it transforms your handheld tool into a track-saw-like system.
Your Step-by-Step Circular Saw Straight Cutting Guide
1. Choose Your Guide Type
You’ve got two main options: DIY (using a straight board + clamps) or commercial (like the Kreg Rip-Cut or Bora WTX). For occasional use, a straight 1×4 clamped to your workpiece works fine. For frequent, repeatable cuts, invest in a purpose-built guide—worth every penny.
2. Measure and Mark Accurately
Measure from your intended cut line, then subtract the distance from your saw’s blade to the edge of its base plate (usually 1.5–2 inches). Double-check this offset—it’s the #1 cause of misaligned cuts.
3. Secure the Guide
Clamp the guide firmly along the entire length using at least two high-quality bar clamps. Test for slippage by running your hand along it before powering on the saw.
4. Cut with Control
Let the saw do the work. Apply steady forward pressure, keep the base plate flush against the guide, and never force the blade. If the saw binds, stop immediately—don’t muscle through it.
6 Expert Tips for Flawless Results Every Time
- Use sharp blades: Dull blades increase tear-out and require more force, raising the risk of deviation.
- Support your material fully: Overhang causes flexing, which pulls your guide out of alignment mid-cut.
- Wear safety gear: ANSI-approved goggles and hearing protection are mandatory. Dust masks too—wood dust is a known carcinogen per NIOSH.
- Avoid “freehand” shortcuts: Even if you’ve done it 100 times, one slip can ruin expensive material—or worse.
- Test on scrap first: Always verify your setup on a spare piece before committing to your final cut.
- Keep your saw clean: Buildup on the base plate affects glide and alignment.
Real Projects, Real Results
Last year, while renovating a kitchen in Portland, our team needed to trim 12 sheets of ¾” birch plywood for cabinet boxes. Using a Kreg Rip-Cut as our circular saw straight cutting guide, we achieved consistent, splinter-free cuts across all panels—reducing waste by nearly 30% compared to freehand methods. Another user reported on Reddit’s r/DIY that switching to a simple clamped straight edge reduced their average cutting error from ±1/8″ to under ±1/32″. Precision isn’t just about looks—it’s cost control.
Frequently Asked Questions
Can I make my own circular saw straight cutting guide?
Yes! Use a perfectly straight board (like MDF or hardwood) and attach a stop strip. Just ensure it’s smooth and stable. However, commercial guides offer calibrated offsets and better durability.
Why does my circular saw still wander even with a guide?
Check three things: loose clamps, a warped guide board, or incorrect blade-to-base measurement. Also, ensure your work surface is level—sloped tables cause drift.
Is a track saw better than a circular saw with a guide?
Track saws excel at long, precise cuts but cost significantly more. For most DIYers, a quality circular saw straight cutting guide delivers 90% of the performance at 10% of the price.
How do I prevent tear-out on the top surface?
Use a fine-tooth blade (40+ teeth for plywood), apply masking tape along the cut line, or place the good face down—most circular saws cut upward from the bottom.
Do I need special clamps?
No—but use clamps with wide jaws and solid grip. Quick-release bar clamps work best. Avoid spring clamps; they lack holding power.
Where can I learn proper technique?
Start with OSHA’s power tool safety guidelines, then practice on scrap. And if you’re planning a major project, reach out to us—we’re happy to help. (Don’t forget to review our privacy policy if you share project details.)
Making straight cuts isn’t magic—it’s method. Nail your circular saw straight cutting guide setup once, and every future project gets easier, safer, and sharper. Now go measure twice… and cut once.